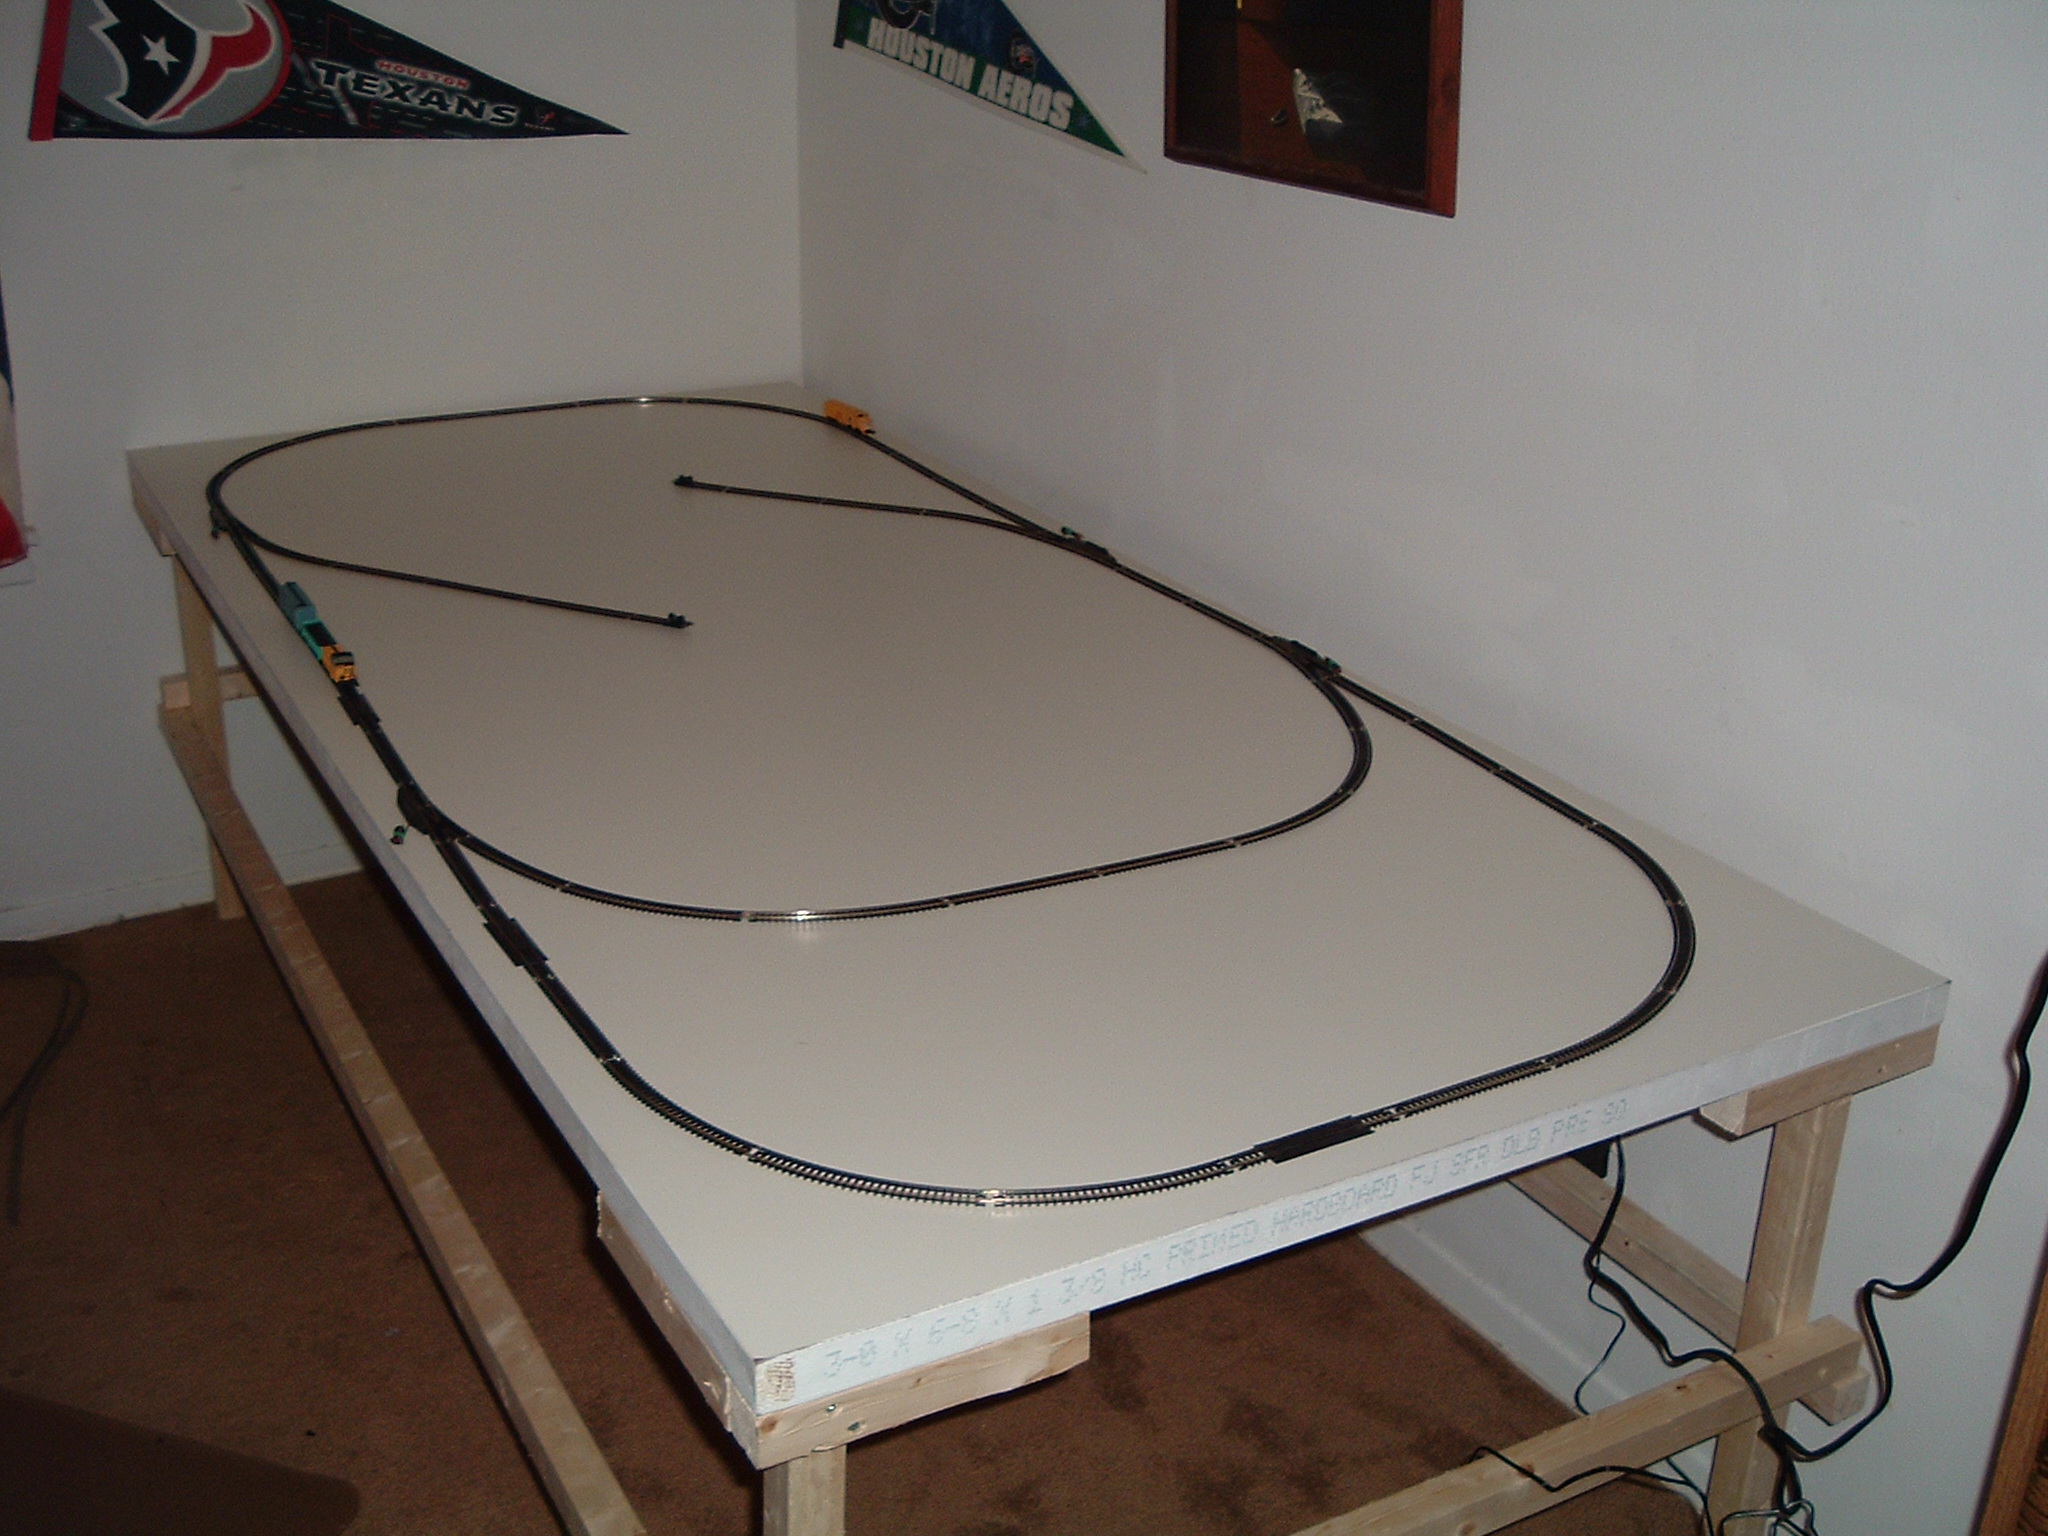
To start with we got a 80 x 32 in hollow core door and 5 2 x 2's. We cut the 2 x 2's into 2 ft lengths for the legs. We cut 6 inch pieces for attaching the legs to the door. We screwed those pieces to each corner in an L shape and screwed the legs into them. We took the remaining long pieces and made bracing pieces all the way around the outside attaching each leg around the middle for stability.
Here are pictures of our rail layout and construction.
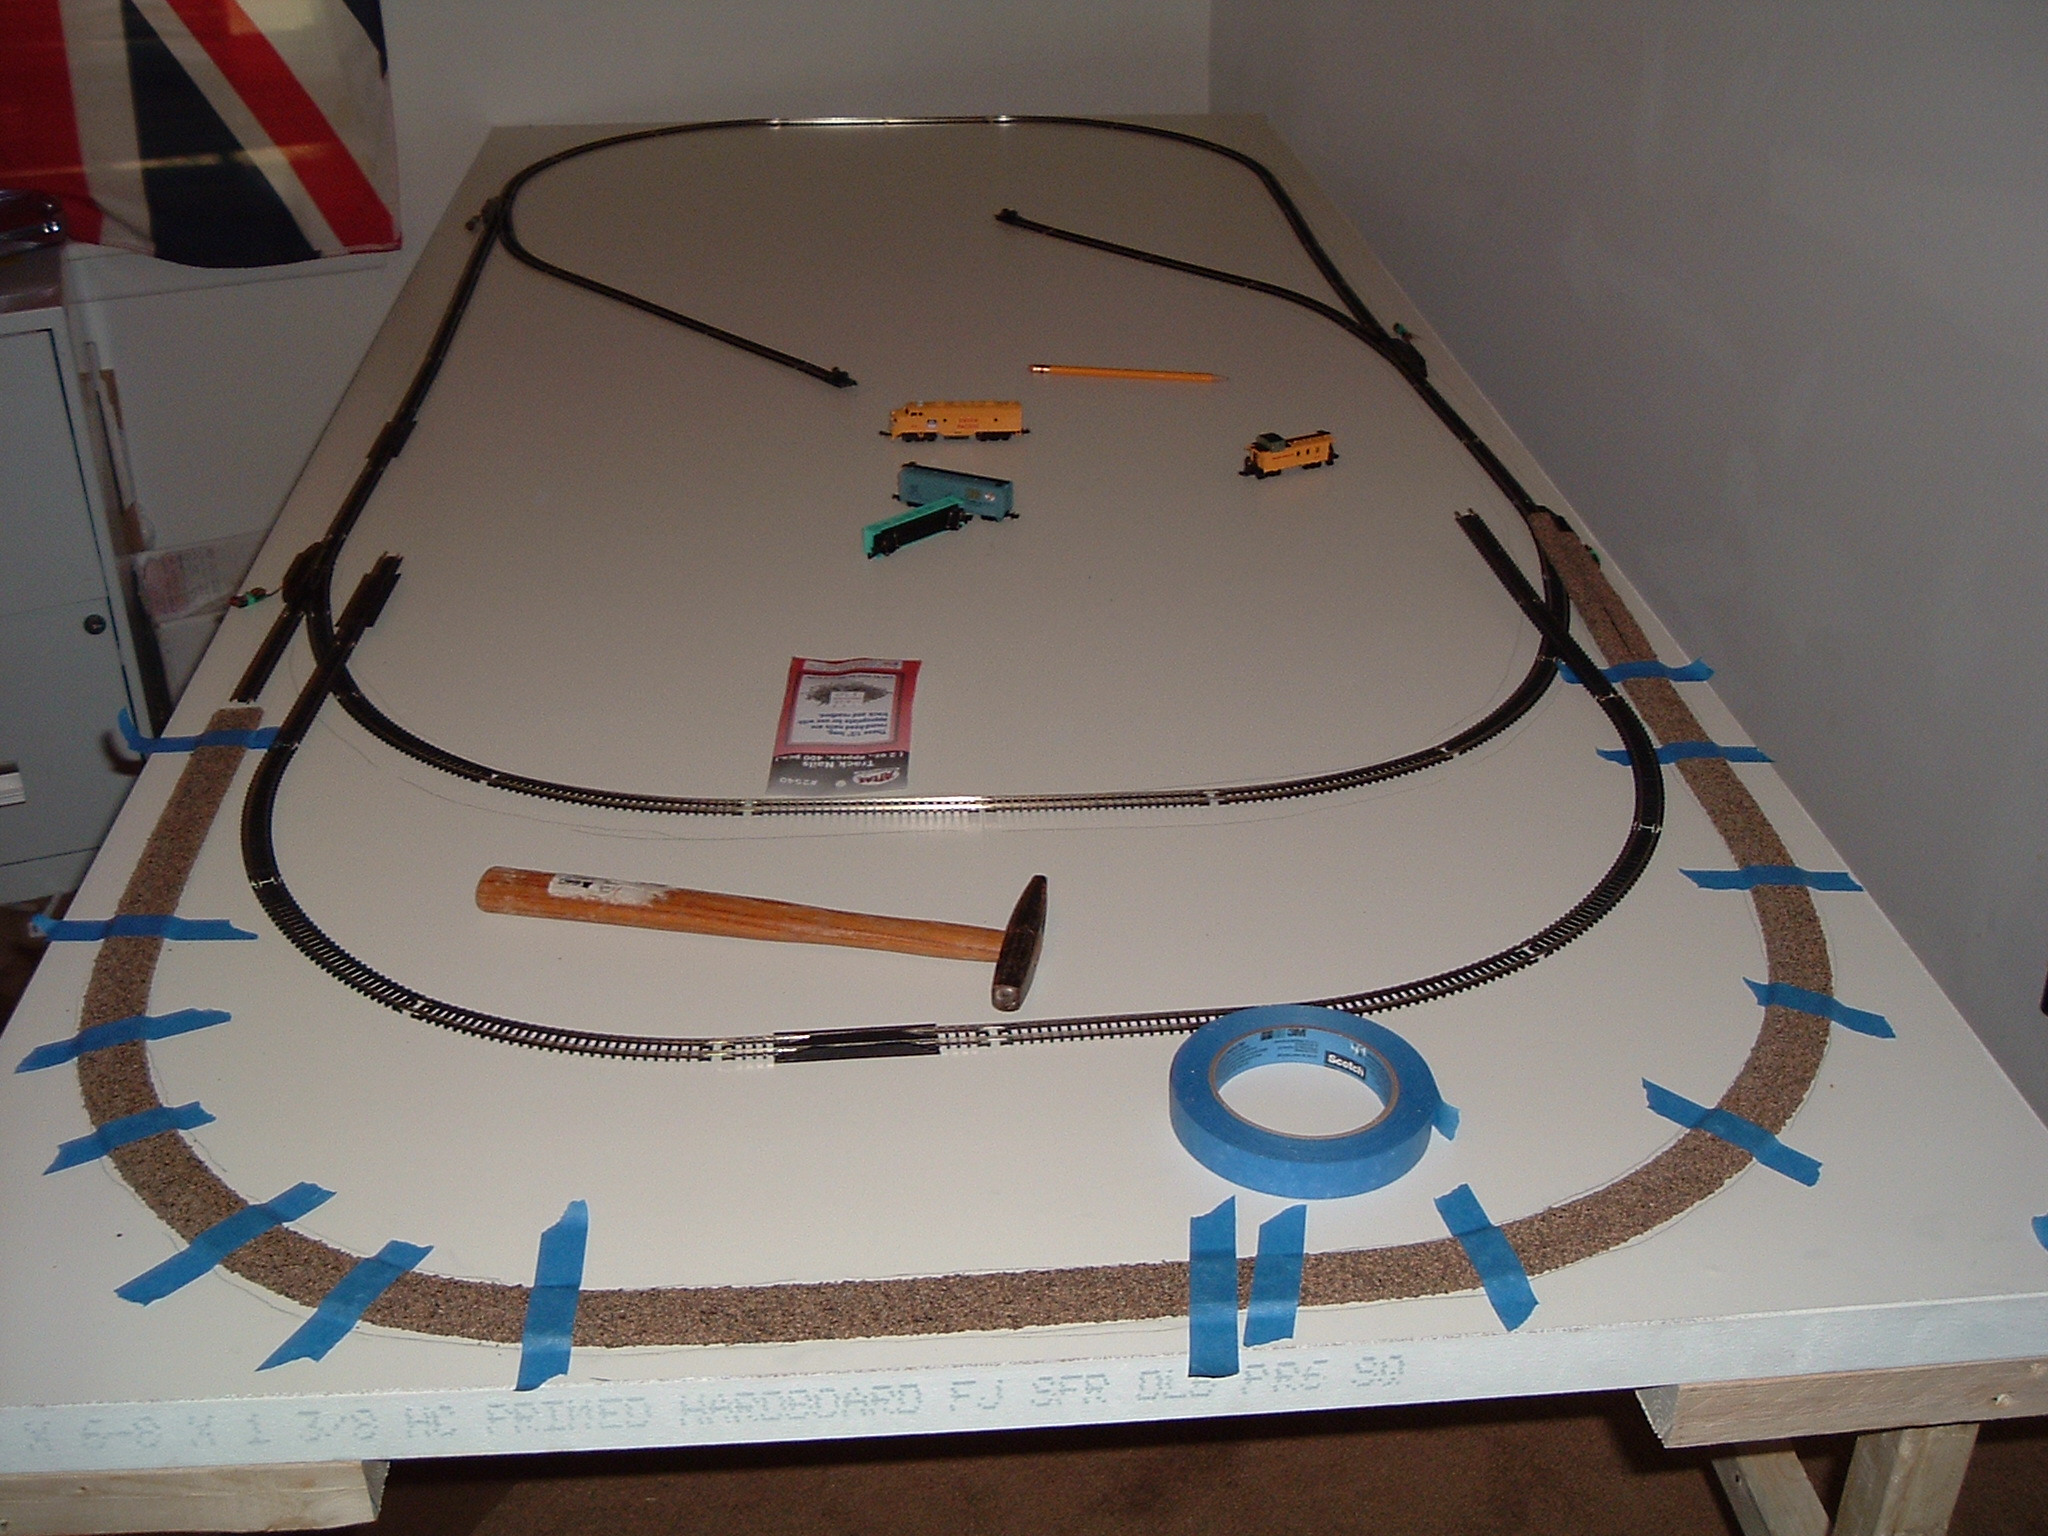
We started by laying out our rail so we could position it and mark it. Once it is marked with a pencil we took it apart by sections to attach the cork roadbed. It is helpful to have two people to do this part. An extra set of hands makes things much easier.
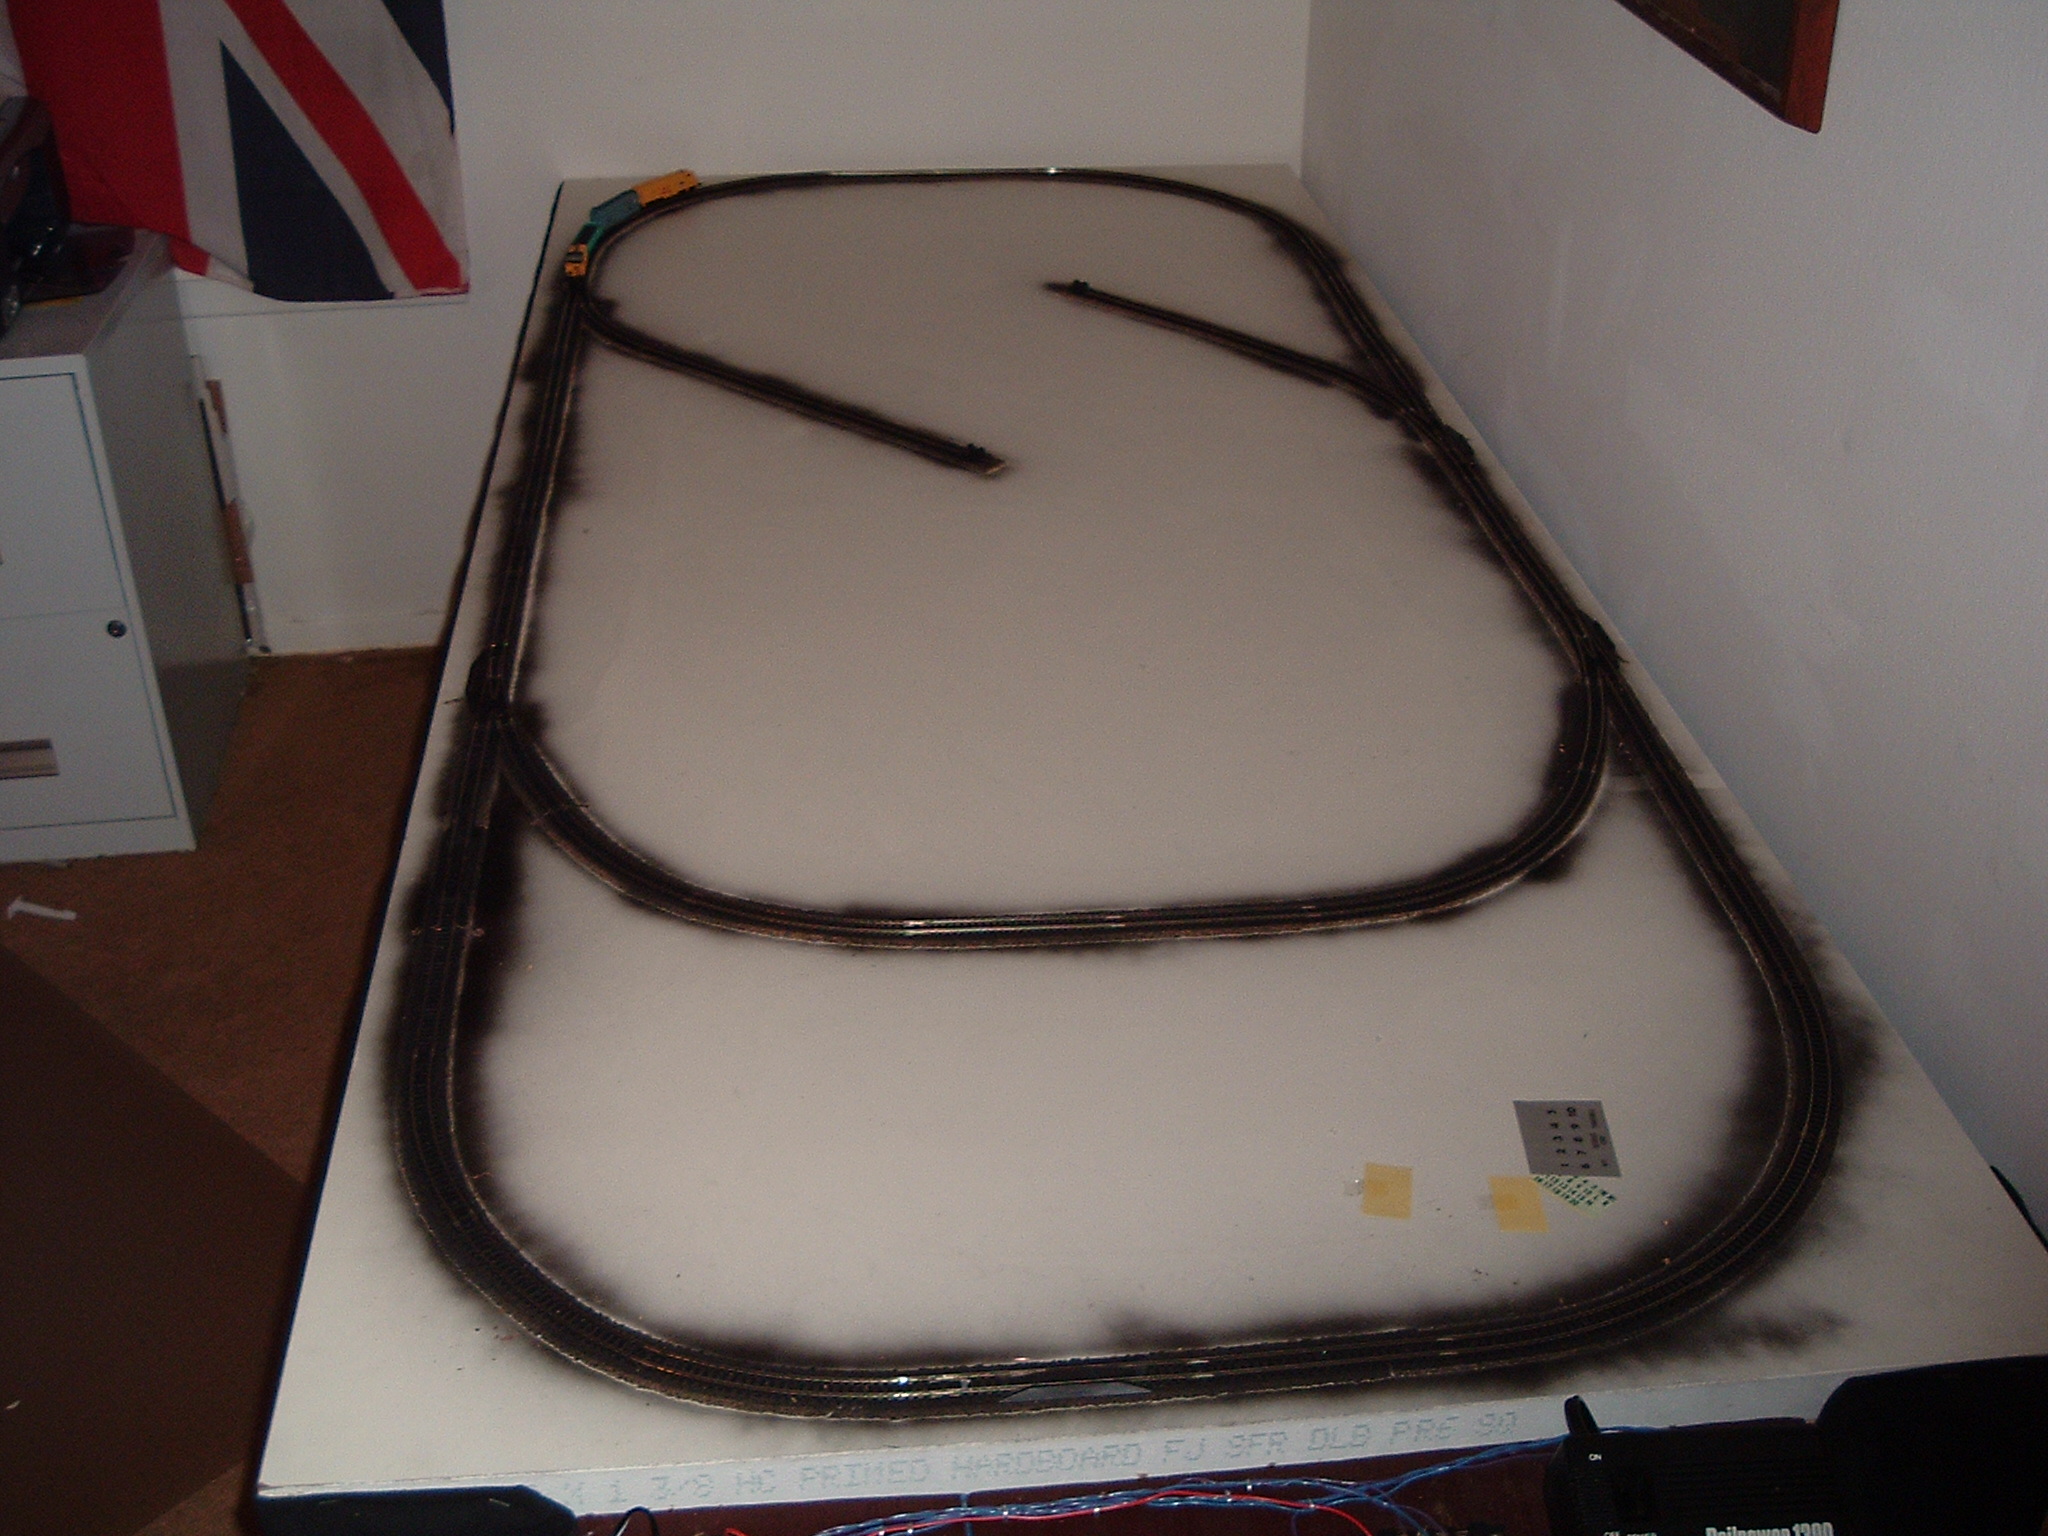
It is hard to see in this picture but I went over the cork with a light coat of black spray paint. I did this because when I ballasted I didnt want any of the cork to show through. I used black ballast so I used black paint. Also a tip for N scalers: When you are nailing track down a nail tap comes in handy since its kind of hard to find a tap hammer that will fit between the rails. I found a spring loaded nail tap that worked well.
As we laid out the cork we taped it down with masking tape,and checked it by putting the track on it. We have an air compressor so we used a brad nailer to tack it all down. That made it really nice! Otherwise you have to get a tack hammer and small brad nails, and do it all by hand.
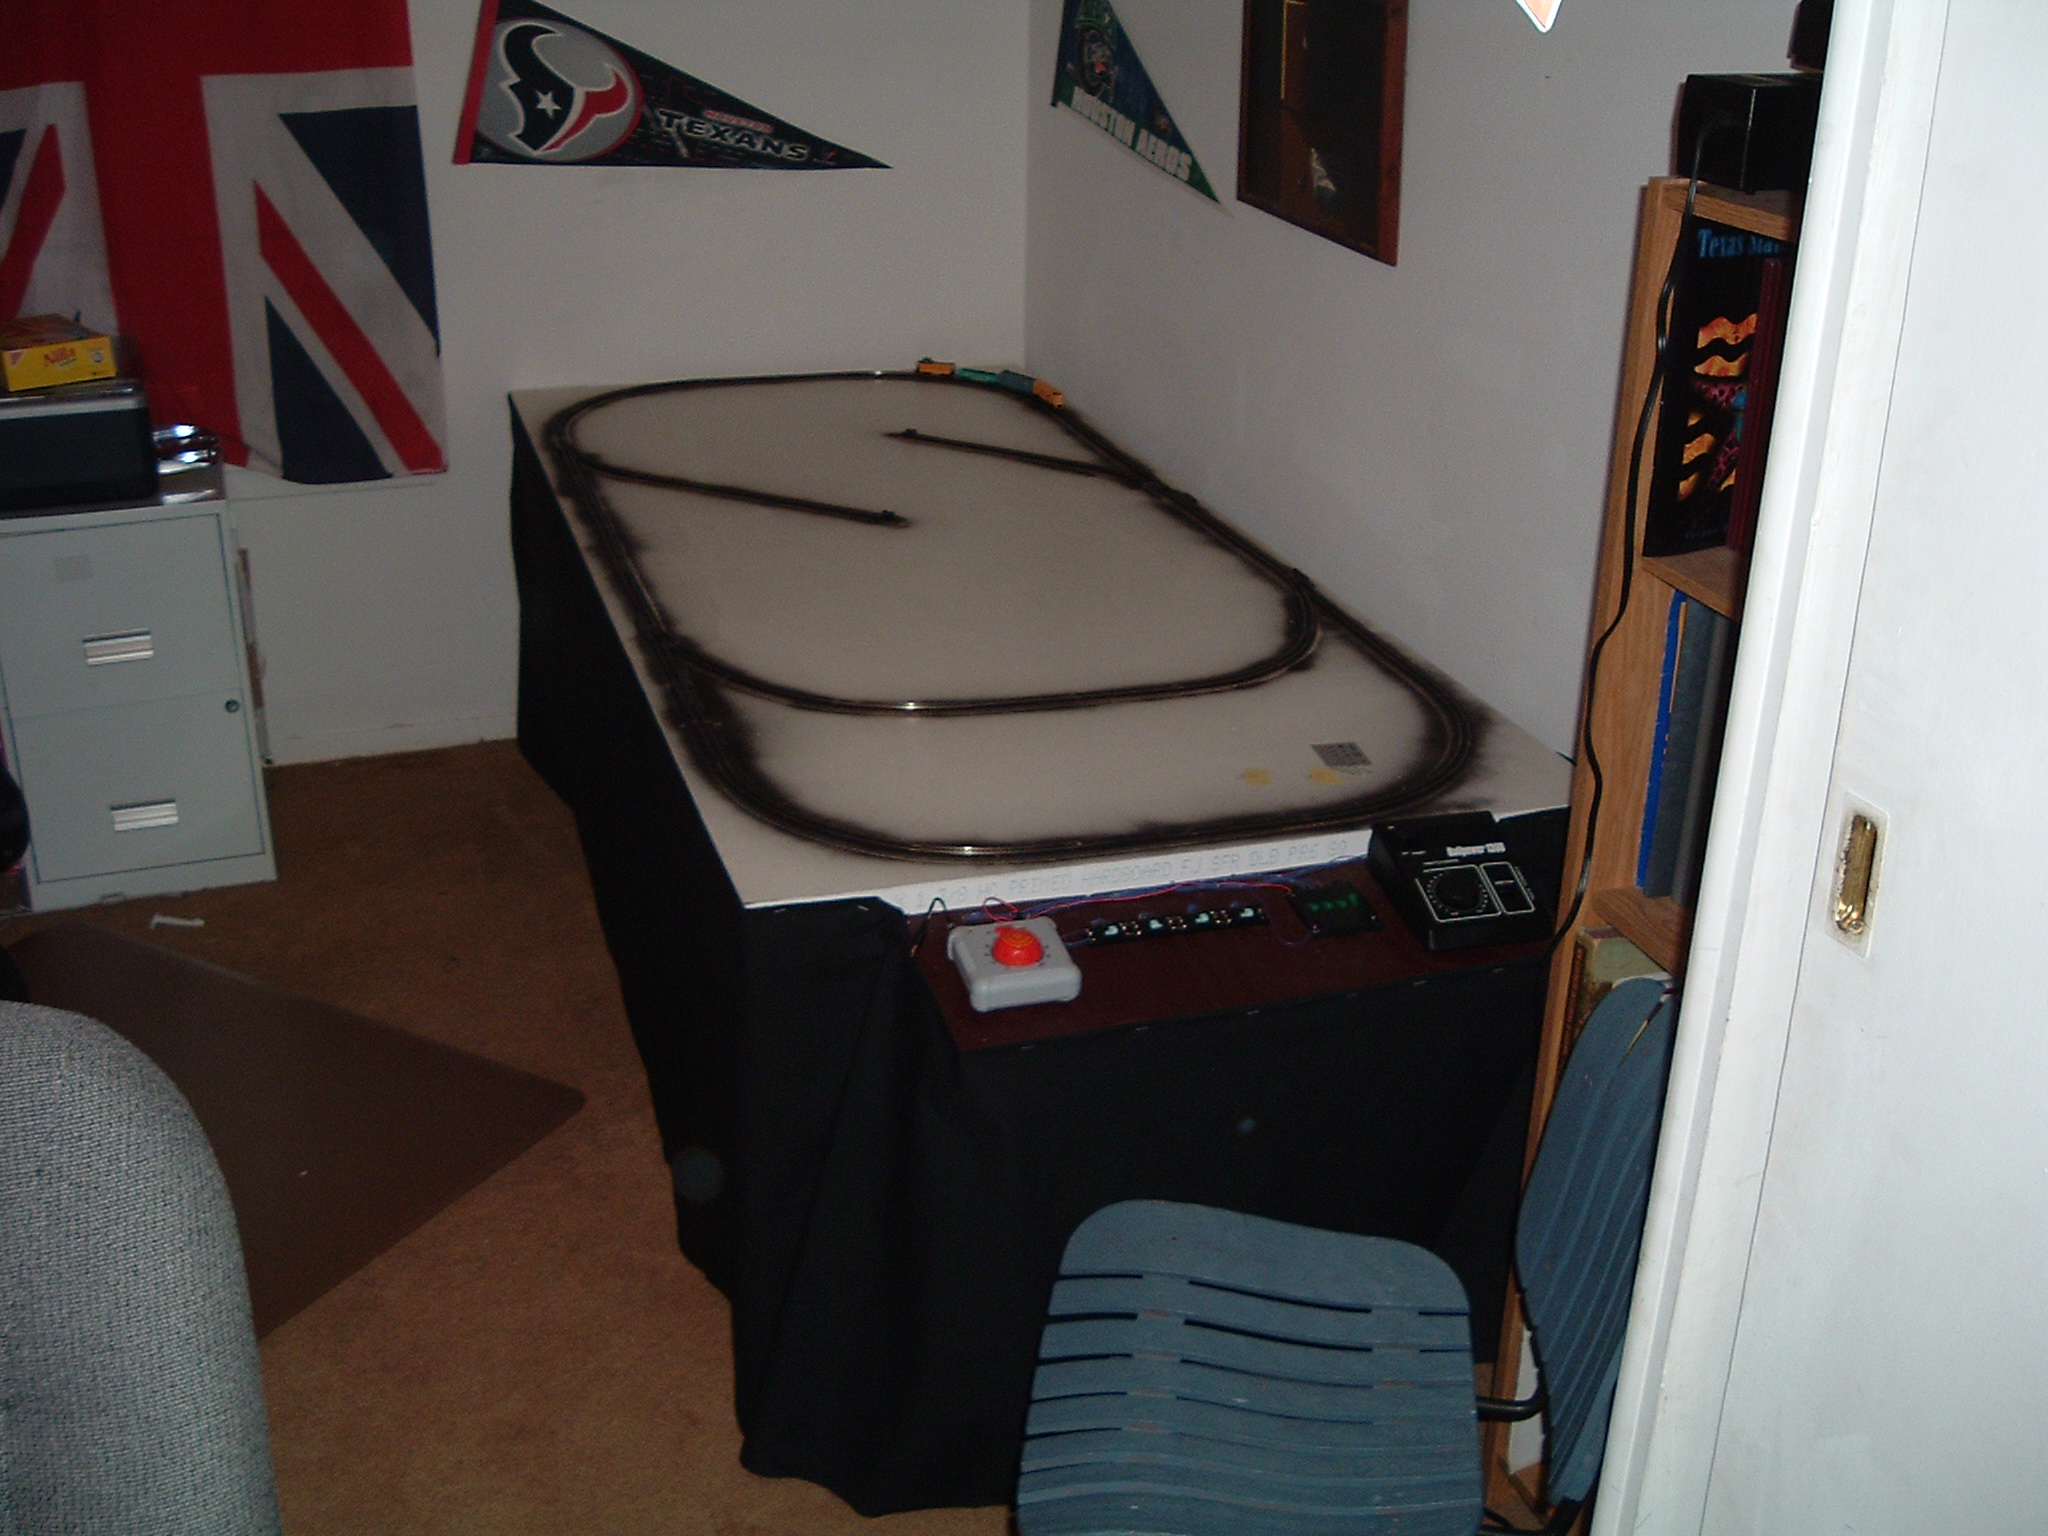
Here is a better picture of our finished layout. Here you can see where I spray painted the cork. We wired remote switches for all the forks and connected them to the control panel.